
Connecting your Webflow site to your Engyne blog involves the below two steps:
Add a custom subdomain to your Webflow site
Connect the subdomain to Engyne
Let's get started!
Step 1: Add a Subdomain to your Webflow site
Make sure you're on the plan that allows you to have a custom domain. Typically it's the Basic plan and up.
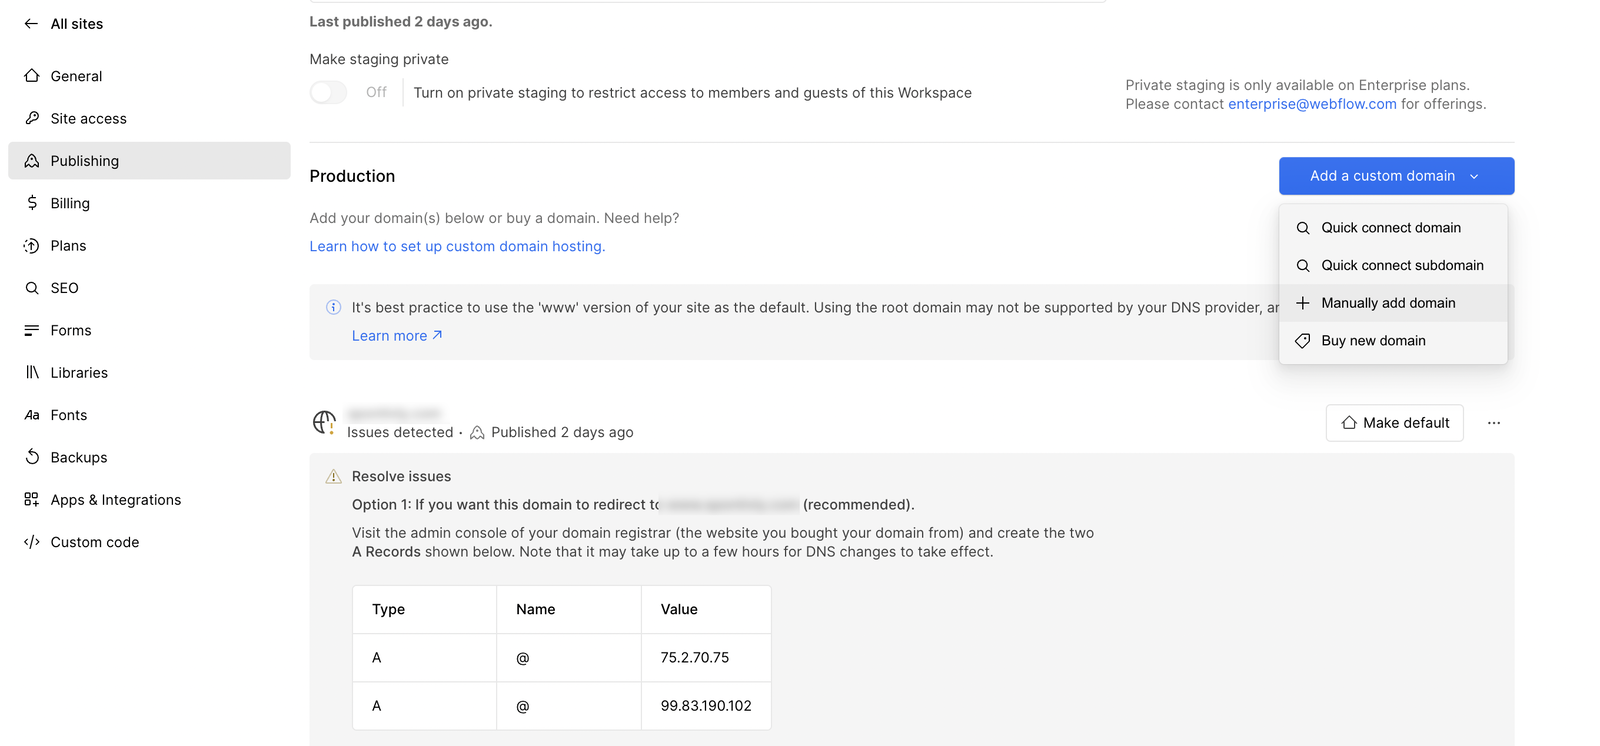
Open up your Webflow site > Settings > Publishing and add a custom domain. Enter the domain as: webflow.<yourdomain.com>. For example, for me, it would be webflow.engyne.ai.
 Manually add domain in Webflow dashboard
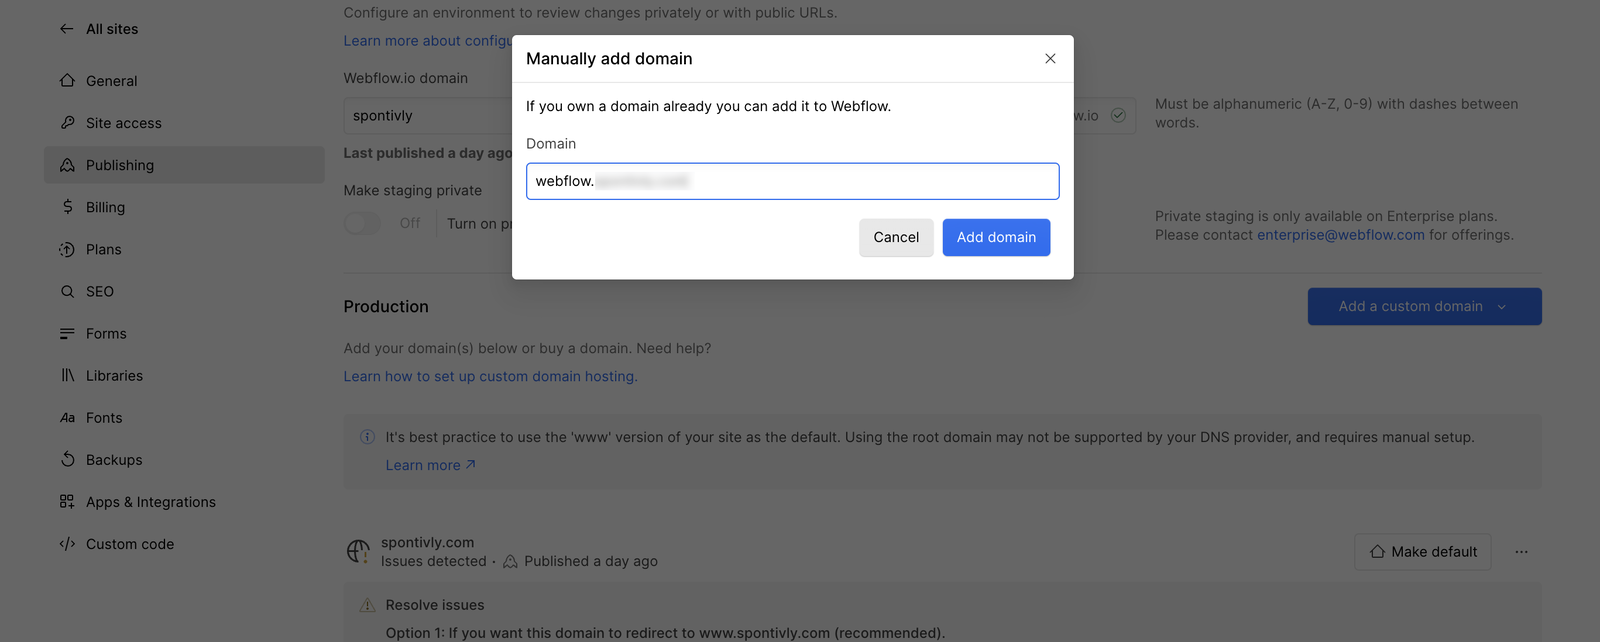 Adding your webflow custom domain in Webflow's Publishing settings
Webflow will show a list of new DNS records you will need to add to your DNS manager.
Make sure to:
Add all new records Webflow shows in your DNS
Click the
Make Defaultsetting for this new domainClick on
Verify Installationto confirm that the DNS records were added successfullyPublish the website to the new domain
Try accessing your Webflow site at webflow.<yourdomain.com> and confirm that you can see all the landing pages. If so, move to Step 2 otherwise go through the above checklist again.
Step 2: Deploy Engyne blog as /blog
In your DNS settings, add these new records:
Type: A
Name: @
Value: 76.76.21.21
and
Type: CNAME
Name: www
Value: cname.vercel-dns.com
Now sign into Engyne dashboard and go to Settings > Deployment.
 Connect Engyne as /blog with a Webflow site
Enter your root domain as the Custom Domain. This would be something like <yoursite.com>. Click Connect. It should connect right away, but sometimes it can take ~10 mins for the DNS changes to propagate over.
When it's connected, toggle the Enable subfolder option. Choose Custom as your frontend service and enter the webflow subdomain as your Custom-Hosted URL that we deployed to in the last step. It will look like webflow.<yoursite.com>.
Click Save and voila!
All your Webflow pages will be on the root domain and /blog will be the Engyne blog pages.
Step 3: Set up Robots.txt
Now if you've done SEO before, you'll see a little of a problem with this setup where webflow.<yoursite.com> and <yoursite.com> will have the same content and Google won't know which one to index. This is why we will turn off indexing on webflow.<yoursite.com> and keep it on for <yoursite.com> . The latter already is handled by Engyne.
To turn off indexing for the former:
Go to Webflow > SEO
In the robots.txt section, paste this exactly:
   User-agent: *
Disallow: /That's it!
Now if you open up webflow.<yoursite.com>/robots.txt , the rules will tell Google not to index anything here. If you open up <yoursite.com>/robots.txt , the rules will tell Google to index everything.